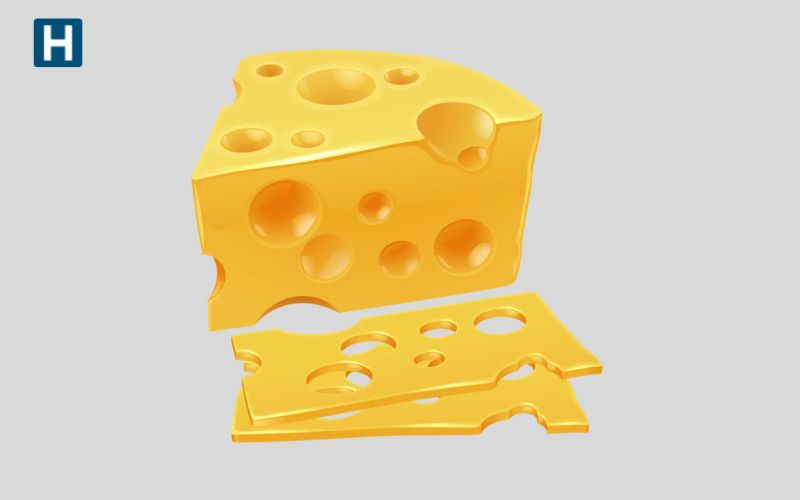
How To Draw Cheese? One of life’s greatest pleasures is delicious cuisine, and no matter your preferences, there is enough to enjoy! Cheese is one of a few foods that have taken the place of other ingredients in numerous dishes. Certain cheeses are exquisite, while others are ideal for sandwiches. Despite the numerous variations, the cheese is always delicious! While eating cheese is enjoyable, drawing cheese may also be enjoyable.
You’ve come to the perfect site if you want to learn how to achieve that. You can sketch a mouthwatering slice of cheese by following our detailed instructions. There are numerous other figures that you can design for kids, including drawings of Batman, Anubis, cats, cobras, blueberries, coconuts, and many more.
6 Step to To Draw Cheese
Here you can read How To Draw Cheese with 6 amazing steps.
Step 1:
In this article, we’ll demonstrate how to draw Swiss cheese with lots of holes. We will begin by drawing a triangular shape, whether you use it as is or modify it.
Step 2:
Draw two slightly curved vertical lines downward from the ends of the cheese piece to accomplish this. Like the top of the cheese, these lines will likewise contain a number of holes and indentations. Draw more circular shapes to create additional holes on the top of the cheese before moving on to step 3. You are therefore prepared to move on to the next phase!
Step 3:
We stated at the outset of this article on How To Draw Cheese that we would poke several holes in the cheese to make it resemble a slice of Swiss cheese. We shall carry on doing so in this third step!
Step 4:
We will soon finish the cheese design’s outline and finishing touches. We’ll add a few more cheese holes to complete the Swiss cheese effect before going on to this section. Add a couple additional holes that you drew on the other side of the cheese’s interior to accomplish this. We can proceed to the last details and components we described previously after you’ve sketched those holes.
Step 5:
In this section of our guide on How To Draw Cheese, we’ll complete the outline and finishing touches before you color your fantastic artwork. The cheese basis will be drawn in this phase, and you can do this by utilizing an erratic line. This will serve as a summary of the image’s final details, but you are also welcome to add more information!
Step 6:
You’ve reached the last stage of creating your cheese drawing, and in this one, we’ll add some stunning colors to complete it! Because it frequently looks that way in cartoons and other well-known media, cheese is sometimes portrayed as being brilliant yellow. During coloring, we employed a variety of yellow hues to get a richer, more brilliant image.
The sides and inside of the cheese holes can be shaded by using darker yellow hues. You have the ability to choose another color scheme in addition to this one! Why not color this artwork to resemble your favorite cheese, as cheese comes in a variety of hues and aesthetic varieties?